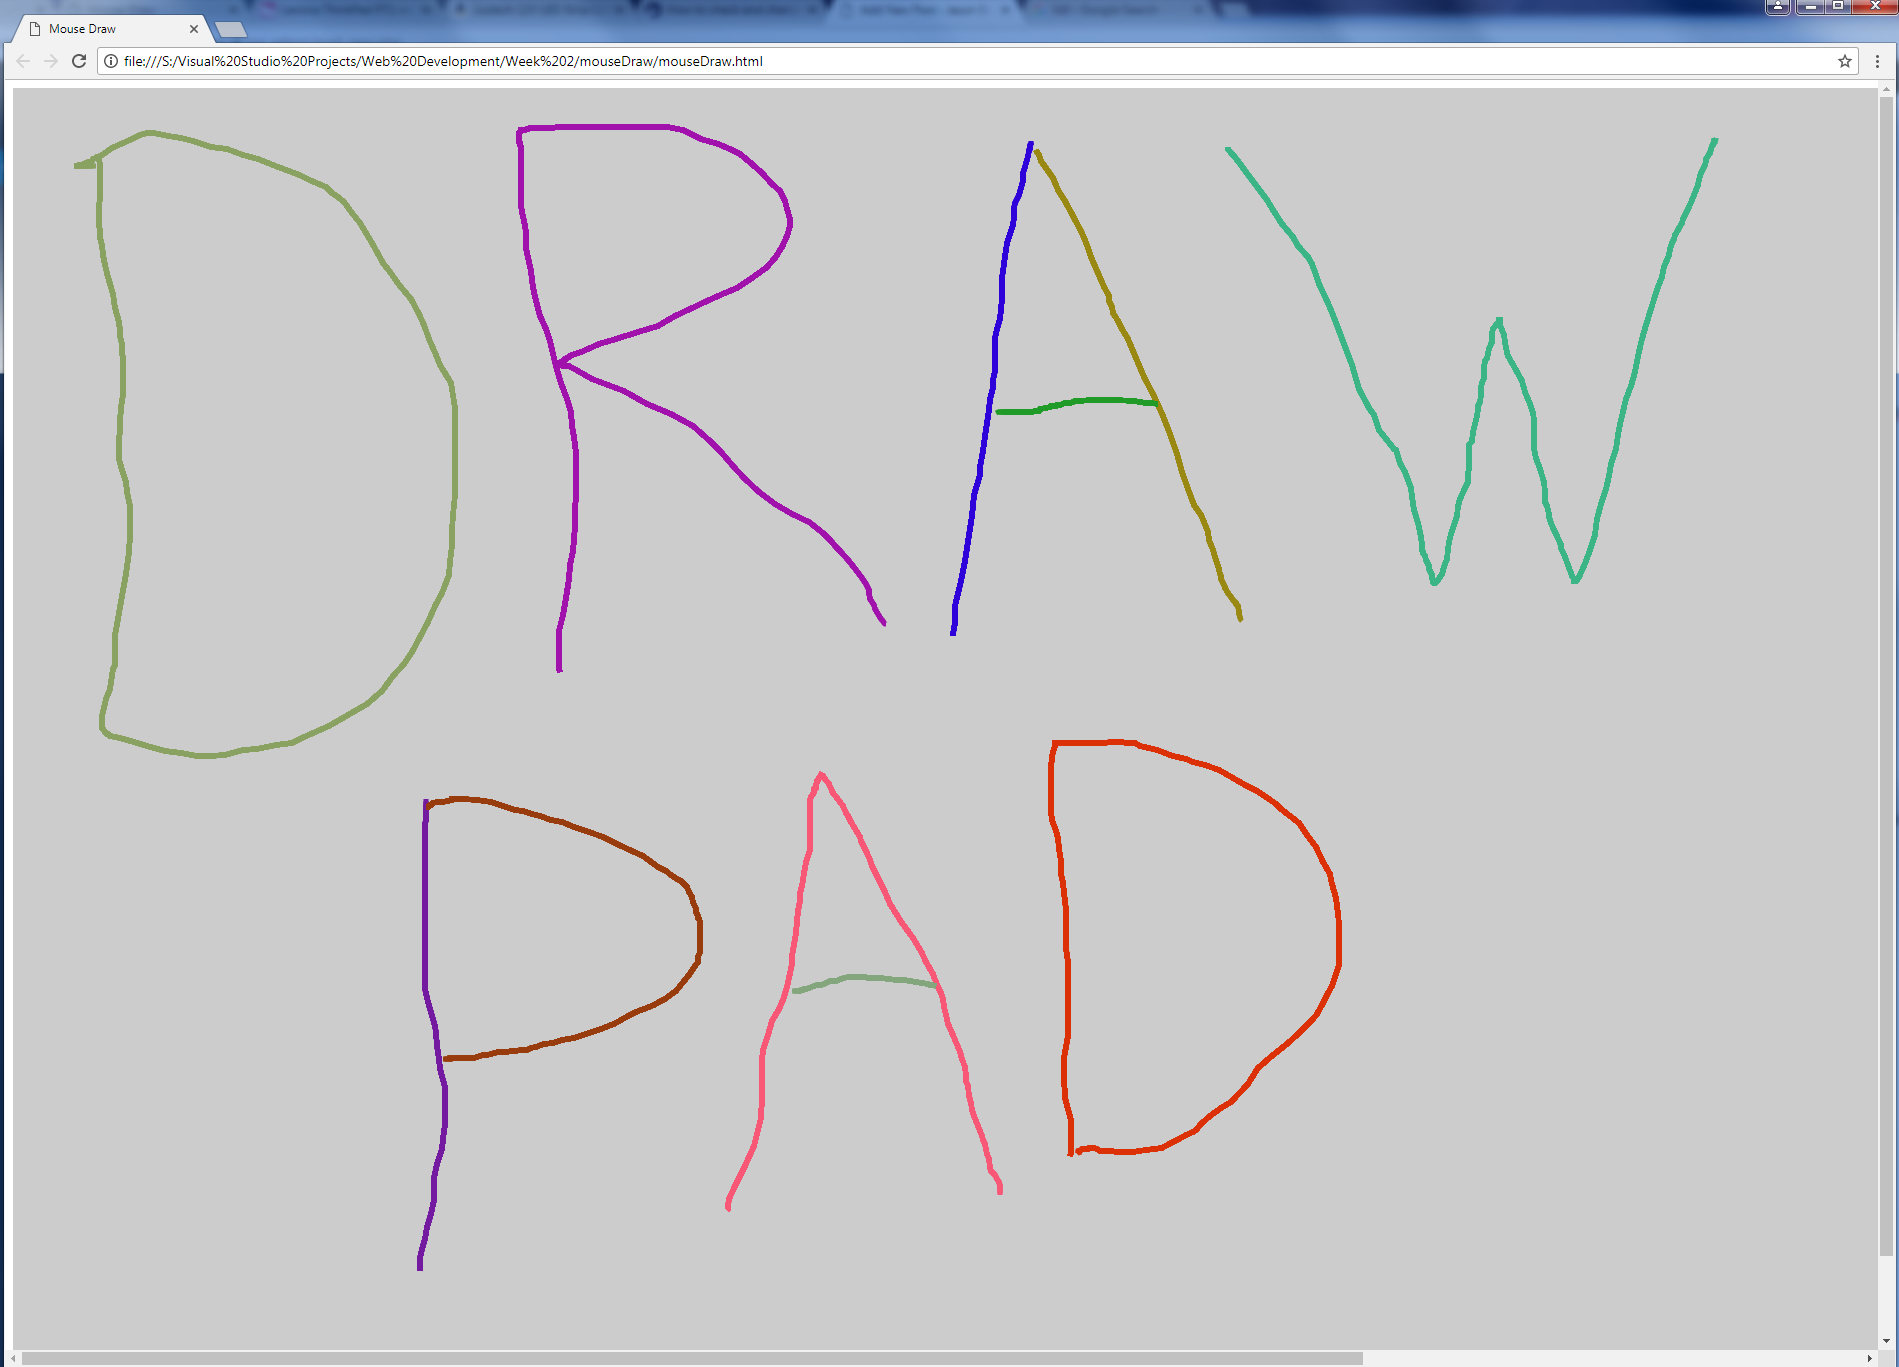
Here’s a fun exercise you can do using JavaScript and a small amount of HTML – creating a ‘draw pad’ in the browser.
To see a fully functioning example, click here. To start drawing, simply click on the grey canvas and draw using the mouse. To stop drawing, click on the canvas again.
To start, create a canvas in HTML using the code below:
<canvas id="myCanvas", width="400" height="400" onclick="toggleDraw(event)" onmousemove="drawLine(event)"></canvas>
This is all the HTML we will need. The code above creates a canvas 400x400px and adds some event listeners. There’s an ‘onclick’ event listener which listens for a mouse button click and one called ‘onmousemove’ which listens for movement of the cursor. The ‘onclick’ event is linked to a JavaScript function called ‘toggleDraw’ and the ‘onmousemove’ event listener is linked to another function called ‘drawLine’. Both of these will be explained later.
The following code is all JavaScript can be placed in inline script tags in the HTML document.
First, we create a bool variable called ‘doDraw’ which we set to false as default. This bool changes between true and false whenever the user clicks on the canvas. Place it at the top of the JavaScript code.
var doDraw = false;
Next we can set the properties of the canvas that the user is going to be able to draw onto and the line that the user is going to create, see the commented code below:
 var c = document.getElementById("myCanvas"); //This 'c' variable is the canvas - 'getElementbyId' links the JS code to the HTML code via DOM
 c.width = window.innerWidth;  //Set the width of the canvas to the inner width of the browser window
 c.height = window.innerHeight; //Set the height of the canvas to the inner height of the browser window
 var ctx = c.getContext("2d"); //Set the rendering engine of the canvas to 2D
 ctx.fillStyle = "#CCCCCC"; //Set the fill colour of the canvas to grey (you can change this)
 ctx.fillRect(0, 0, c.width, c.height); //Specify the origin of the canvas rectangle and the width and height of the rectangle
 ctx.lineWidth = 5; //Set the width of the line the user draws with the mouse to 5px
With these styles set (you can change most of these later to suit your liking), it’s now time to write some functions. The first function is the function to turn the drawing ‘on and off’ using the bool ‘doDraw’ that was defined at the beginning of the JS code. This function allows the user to click on the canvas to turn the drawing capabilities on or off.
function toggleDraw(e) { //Passing the event handler from the 'toggleDraw(event)' code in HTML
 doDraw = !doDraw; //Use the ! to set 'doDraw' to the opposite of what it previously was, e.g. if it was 'true', this code sets it to 'false' and vice-versa


if (doDraw) { //If the bool value of 'doDraw' is true, then execute the following code
 ctx.beginPath(); //Enable the path/drawing tool
 ctx.moveTo(e.clientX, e.clientY); //Allow the user to draw on the canvas
 ctx.strokeStyle = getRandomColour(); //Set the line colour to a random colour, this is done using a function later on
 }
 else { //If the bool value of 'doDraw' is false, then execute the following code
 ctx.closePath(); //Disable the path/drawing tool
 }
 }
The next function enables the drawing of a line on the HTML 5 canvas.
 function drawLine(e) { Passing the event handler from the 'drawLine(event)' code in HTML


 if (doDraw) { If the bool value of 'doDraw' is true, then execute the following code
 ctx.lineTo(e.clientX, e.clientY); //Allow the user to draw a line on the canvas
 ctx.stroke(); //Apply the stroke set in the earlier JS code to the line that the user will draw.
 }
 }
The final function is the function to select a random colour. Earlier you could see that the stroke colour was set to the name of this function (‘getRandomColour’) and here is the code that enables a random colour to be chosen.
 function getRandomColour() {
 var str = "#"; //Each hex colour begins with a #, this is a variable that contains this single string character
 var chars = "0123456789ABCDEF"; //Hexadecimal numbers can have numbers 1-9 and letters A-F in them, here are the numbers and letters of hex values stored in one char for the code to randomly select from to generate a colour
 for (var i = 0; i < 6; i++) { //Keep making a random hexadecimal colour as long as 'i' (defined here) is less than 6
 str += chars[Math.floor(Math.random() * 16)]; //Using the # from the variable 'str' and the characters 1-9 and/or A-F from the char variable 'chars' to generate a hex colour code and apply it
 }
 return str;
 }
And there we have it! A very basic ‘drawing pad’ that you can view in the browser.